Build a Minimal Agent Harness in Python (Step by Step)
A step-by-step Python guide to the agent harness loop: tool schema setup, stop_reason handling, parallel tool calls, and the bugs every builder hits first.
Table of Contents
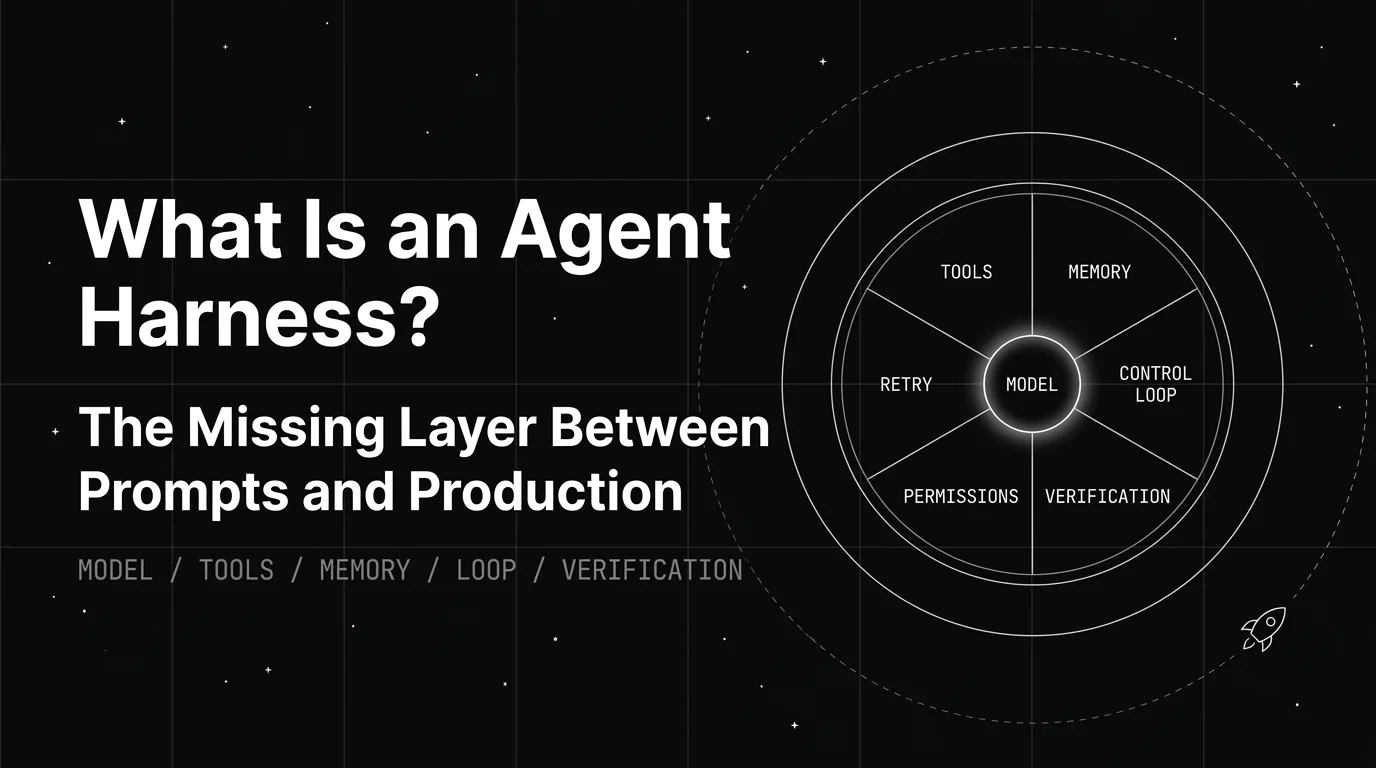
You have read what an agent harness is, and now you want to watch one run in the fewest lines that still count as an agent. That means a loop you can read top to bottom and paste into a terminal, with no framework and no hundred-file project wrapped around it. That loop is smaller than most tutorials make it look.
This guide builds a minimal agent harness in Python step by step, and every snippet stacks into one program you can run at the end. You will set up the SDK, define two tools, write the core while-loop, handle several tool calls in one turn, and add the stop conditions that keep it from running forever.
What Does “Minimal Agent Harness” Mean in Python?
A minimal agent harness in Python is the smallest runnable loop that lets a model call your code. It has three parts: a loop over the model’s stop_reason, a dispatcher that maps a tool name to a Python function, and a messages list that grows on every turn. This guide assumes you already know what an agent harness is and want to build the smallest one that actually runs.
The word “minimal” is doing real work here. A production harness adds sandboxing, permission checks, context compaction, and session state, and those layers have their own guides. This one stays at the core, the part that turns a single model call into a model that keeps calling tools until the task is done. If you want a ready-made harness instead of building one, that is a separate roundup.
Here is the shape before any code. You send the model a task and a list of tools. It replies with either a final answer or a request to run a tool. If it asks for a tool, you run it, hand back the result, and ask again. When it stops asking, you return its answer. The same loop shows up in community walkthroughs, from Edd Mann’s Python series to manual-loop guides on dev.to, and it barely changes between them.
How Do You Set Up the Project and Install the SDK?
To build an agent harness by hand, start with a clean virtual environment and two packages. The anthropic package makes the model call, and pydantic generates tool schemas so you never hand-write JSON Schema.
python3 -m venv venv && source venv/bin/activate
pip install anthropic pydantic
export ANTHROPIC_API_KEY="sk-ant-..."
This creates an isolated environment, installs both libraries, and sets the API key the SDK reads at startup. Python 3.9 or newer is enough. If you want the framework route instead, pip install openai-agents gives you the OpenAI Agents SDK covered later, but the manual path below shows what that framework is doing for you underneath.
One setup detail trips people on the first call: max_tokens is required on every Anthropic request and has no default. Leave it out and the SDK raises before the model ever runs. Everything else is ordinary Python, so once the key is exported you are ready to define tools.
How Do You Define Tools in Python?
A tool is three things the model needs to see: a name, a description, and an input_schema that says what arguments it accepts. The model reads those to decide when and how to call it. You supply the matching Python function that actually runs.
import json
import os
import anthropic
from pydantic import BaseModel

client = anthropic.Anthropic()

class ListFiles(BaseModel):
    directory: str

class ReadFile(BaseModel):
    path: str

def list_files(directory: str) -> list:
    return os.listdir(directory)

def read_file(path: str) -> str:
    with open(path) as f:
        return f.read()

TOOLS = [
    {"name": "list_files", "description": "List the entries in a directory.",
     "input_schema": ListFiles.model_json_schema()},
    {"name": "read_file", "description": "Read a UTF-8 text file and return its contents.",
     "input_schema": ReadFile.model_json_schema()},
]

HANDLERS = {"list_files": list_files, "read_file": read_file}
Each Pydantic model describes one tool’s inputs, and model_json_schema() turns it into the JSON Schema the API expects. TOOLS is the list you pass to the model, and HANDLERS maps each name back to the function that runs it. Keeping those two structures side by side is what lets the loop stay short in the next step.
How Does Pydantic Generate the Tool Schema?
Call model_json_schema() on any Pydantic model and you get a plain dict, with no manual JSON Schema to maintain.
>>> ListFiles.model_json_schema()
{'properties': {'directory': {'title': 'Directory', 'type': 'string'}},
 'required': ['directory'], 'title': 'ListFiles', 'type': 'object'}
That output is exactly the input_schema shape the Anthropic API validates against, so the model sees directory as a required string. Add a field to the model or mark one optional and the schema updates itself, which is why a generated schema beats a hand-written dict that drifts out of sync with the function. This method ships with Pydantic v2.
How Do You Write the Core While-Loop?
This is the harness. Everything before it was setup, and this loop is the part that makes the model act. You call the model once, then keep looping while it asks for tools: run each tool, append both messages, and call again.
def run_agent(user_prompt: str, max_turns: int = 25) -> str:
    messages = [{"role": "user", "content": user_prompt}]
    response = client.messages.create(
        model="claude-opus-4-8",
        max_tokens=1024,
        tools=TOOLS,
        messages=messages,
    )
    turns = 1
    while response.stop_reason == "tool_use":
        if turns >= max_turns:
            raise RuntimeError("max turns exceeded")
        messages.append({"role": "assistant", "content": response.content})
        results = []
        for block in response.content:
            if block.type == "tool_use":
                output = HANDLERS[block.name](**block.input)
                if not isinstance(output, str):
                    output = json.dumps(output)
                results.append({
                    "type": "tool_result",
                    "tool_use_id": block.id,
                    "content": output,
                })
        messages.append({"role": "user", "content": results})
        response = client.messages.create(
            model="claude-opus-4-8",
            max_tokens=1024,
            tools=TOOLS,
            messages=messages,
        )
        turns += 1
    return "".join(b.text for b in response.content if b.type == "text")
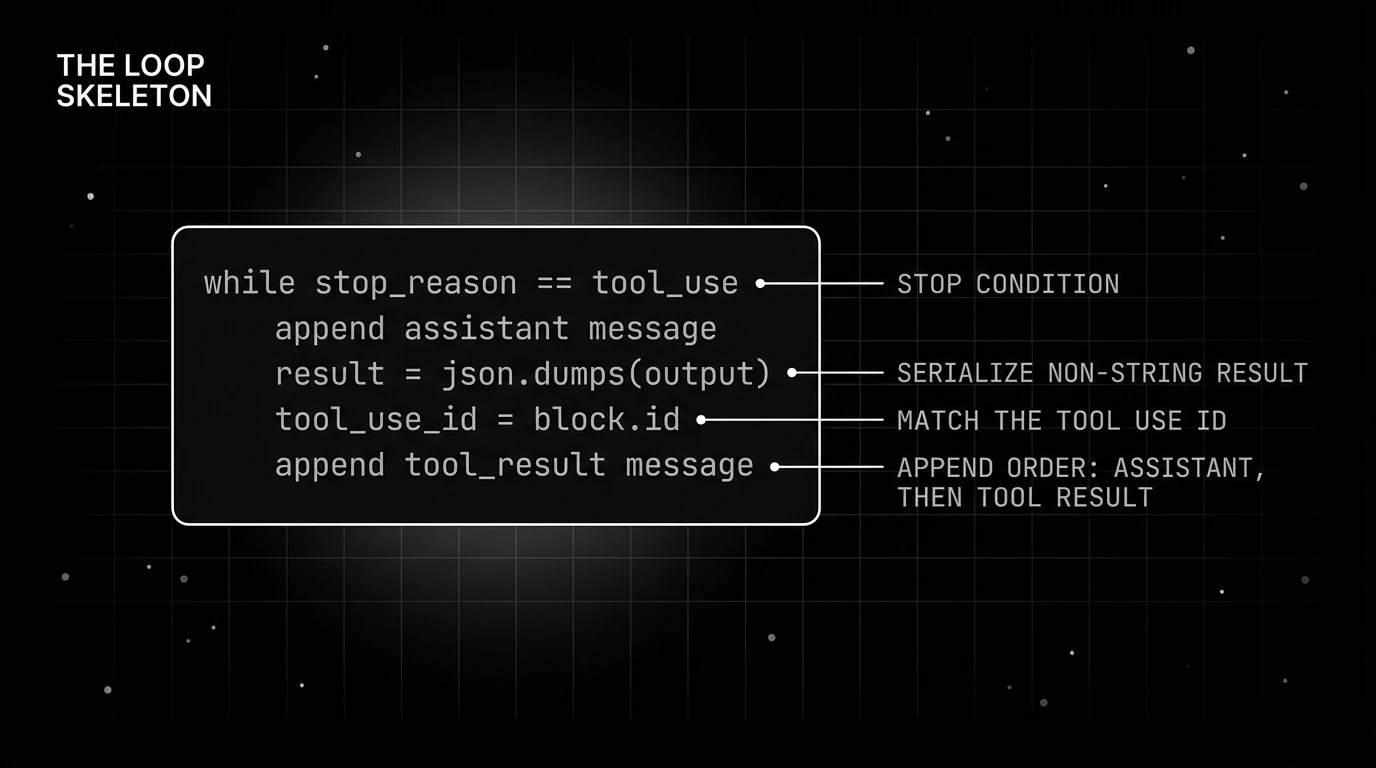
The condition while response.stop_reason == "tool_use" is the whole control flow: as long as the model keeps asking for tools, the loop keeps running, and when it returns end_turn the loop falls through to the text answer. The two messages.append calls are the heart of it, the assistant’s request first and then a single user message carrying the results. Figure 1 annotates the four spots where first-time builders slip.
How Do You Detect and Dispatch Tool Calls?
The model’s reply is a list of content blocks, and a tool request shows up as a block with type == "tool_use". You check block.type, read block.name, and look the function up in HANDLERS.
Dispatching through a dict keeps the loop honest. The call HANDLERS[block.name](**block.input) runs the matching function with the arguments the model supplied, and because Pydantic already validated the schema, those inputs arrive in the shape your function expects. Add a tool later and this line never changes, only the HANDLERS dict grows.
How Do You Append Tool Results Correctly?
Order and IDs are where this breaks. Append the assistant message, the model’s tool request, before the user message that carries the result, and copy block.id into the result’s tool_use_id so the API can pair them.
The content of a tool_result must be a string or a list of content blocks. A plain string passes straight through, so read_file needs no extra handling, but list_files returns a Python list, which is why the loop serializes non-string returns with json.dumps first. Miss either step, the ID or the serialization, and the next call fails validation or leaves the model unsure which tool it just ran.
Put the tool definitions and the loop together and the harness runs end to end:
if __name__ == "__main__":
    answer = run_agent(
        "List the files in the current directory, then read README.md and summarize it."
    )
    print(answer)
How Do You Handle Multiple Tool Calls in One Response?
One model reply can carry several tool_use blocks at once, when the model decides it needs two files or two lookups before it can continue. The loop above already handles this, and the reason is worth making explicit.
You iterate every block in response.content, collect each result into the results list, and send all of them in one user message before the next API call. Sending one tool_result per message, or calling the API again after the first tool, is the classic parallel-call bug: the API expects every result for a given assistant turn to arrive together in a single user message, with the tool_results first. Figure 2 traces the fan-out, where the model emits two requests, the harness runs both, gathers the results, and returns one consolidated message.
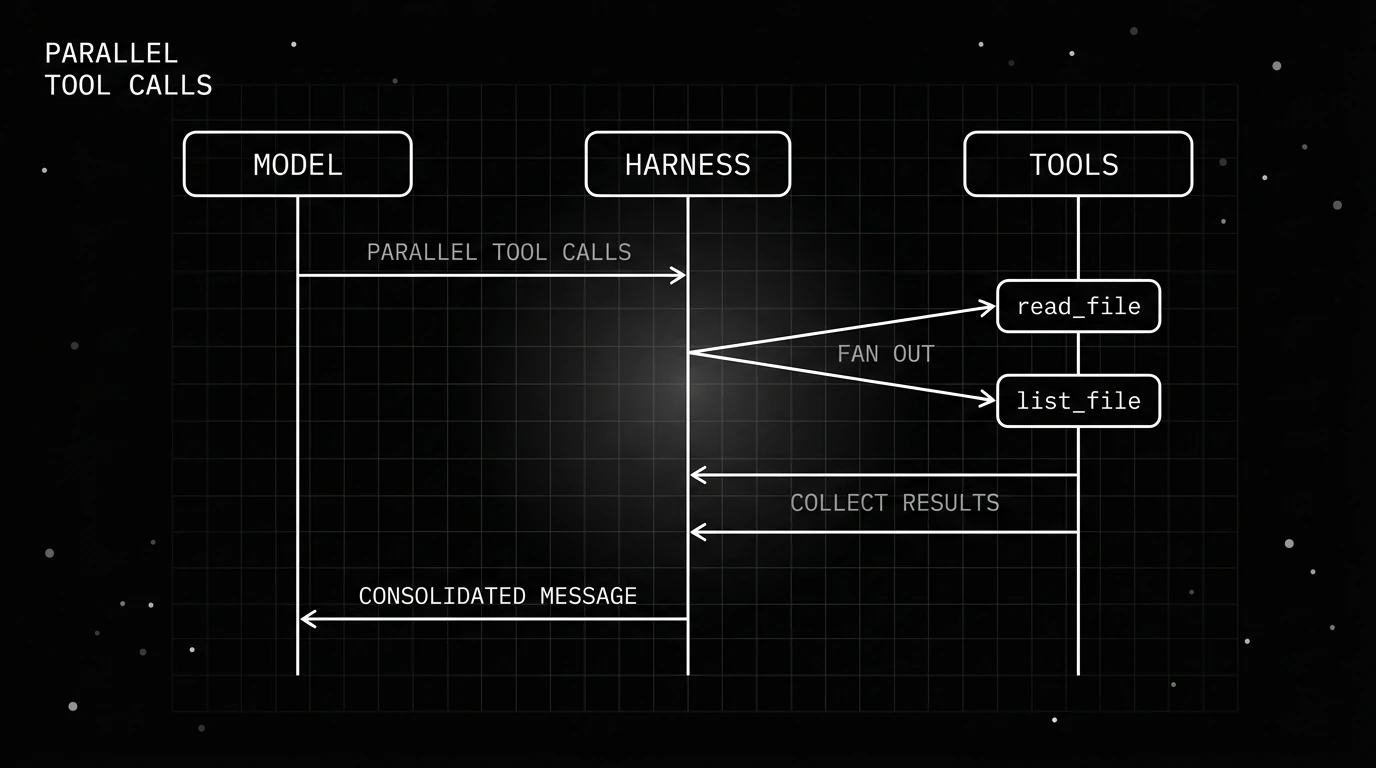
The payoff is latency. When two tools have no dependency between them, running both in the same turn and returning both results is faster than sending the model back through the loop once per tool. The Anthropic docs call this parallel tool use, and the collect-then-send pattern is how you support it without special-casing anything. The table below lists the five bugs that break a first harness.
| Bug | Symptom | Fix |
|---|---|---|
Non-string value in content | API rejects the request; content must be a string or content blocks | Serialize non-string returns first, for example with json.dumps() |
tool_use_id mismatch | Model reasoning breaks; the result goes unattributed | Copy .id from the tool_use block into the tool_result tool_use_id |
| One tool_result per message on parallel calls | API error when the model returns several tool calls | Collect every tool_use block, then send all results in one user message |
| Assistant message not appended | Context lost; the model re-calls the same tool endlessly | Append the assistant message before the tool_result message |
| No max-turns ceiling | Infinite loop on a bad stop condition | Add a turn counter with a configurable ceiling |
What Stop Conditions Should the Minimal Harness Enforce?
A harness needs two ways out: a clean finish and a safety valve. The clean finish is stop_reason == "end_turn", the model’s signal that it is done and has a text answer. Because the loop only continues while stop_reason is tool_use, an end_turn falls through and returns the text with no extra check.
The safety valve is the turn counter. The turns >= max_turns guard caps how many round-trips the loop can make, and if it hits the ceiling it raises instead of spinning forever. A bad stop condition, a tool that always errors, or a model that keeps retrying can all trap a naive loop, and the counter is the cheapest insurance against that.
Frameworks formalize the same two exits. The OpenAI Agents SDK raises MaxTurnsExceeded when a run passes its max_turns, and treats a final text response with no tool call as the normal end. You are building those exits by hand, which is the point: switch to a framework later and nothing about the control flow surprises you.
| Approach | Loop style | Tool schema format |
|---|---|---|
anthropic SDK (manual) | Explicit while stop_reason == "tool_use" | Dict with input_schema (JSON Schema) |
Pydantic and anthropic SDK | Same while-loop; Pydantic generates the schema | model.model_json_schema() |
OpenAI Agents SDK (Runner.run) | Framework-managed loop | Python function with type annotations |
| OpenAI Swarm (experimental) | Stateless per call, no persistent history | Function with type annotations |
For the SDK-free comparison at the bottom row, Swarm is an educational, experimental project from OpenAI: it is stateless, holds no persistent history, and has been superseded by the Agents SDK for anything you plan to run in production. It is useful for reading, not for shipping.
How Do You Extend the Skeleton Without Rewriting It?
Adding a tool touches three places, and none of them is the loop. You define an input schema, add one entry to the TOOLS list, and register the function in HANDLERS. Here is a write_file tool dropped in beside the other two.
class WriteFile(BaseModel):
    path: str
    content: str

def write_file(path: str, content: str) -> str:
    with open(path, "w") as f:
        f.write(content)
    return f"wrote {len(content)} bytes to {path}"

TOOLS.append({
    "name": "write_file",
    "description": "Write text to a file, creating or overwriting it.",
    "input_schema": WriteFile.model_json_schema(),
})
HANDLERS["write_file"] = write_file
Add those lines next to list_files and read_file, above the call to run_agent, and the model can now write as well as read. The run_agent function did not change by a single character, because the loop dispatches through HANDLERS[block.name] and never names a tool directly. That separation between tool definitions and loop logic is the one design decision worth making on day one.
You now have a working agent in a single file: define tools, run the loop, watch it call them, and stop when the work is done. When you are ready for the sandbox, permission checks, and context compaction that a real coding agent harness wraps around this core, the full architecture guide walks through every layer that surrounds the loop you just wrote.
Frequently Asked Questions
What Python version and packages do I need?
Why check stop_reason equals tool_use instead of scanning the content?
What happens if I don't append the assistant message before the tool_result?
How do I add a second tool without rewriting the harness?
When should I use the OpenAI Agents SDK instead of the manual loop?
How do I test a minimal harness without a real model call?
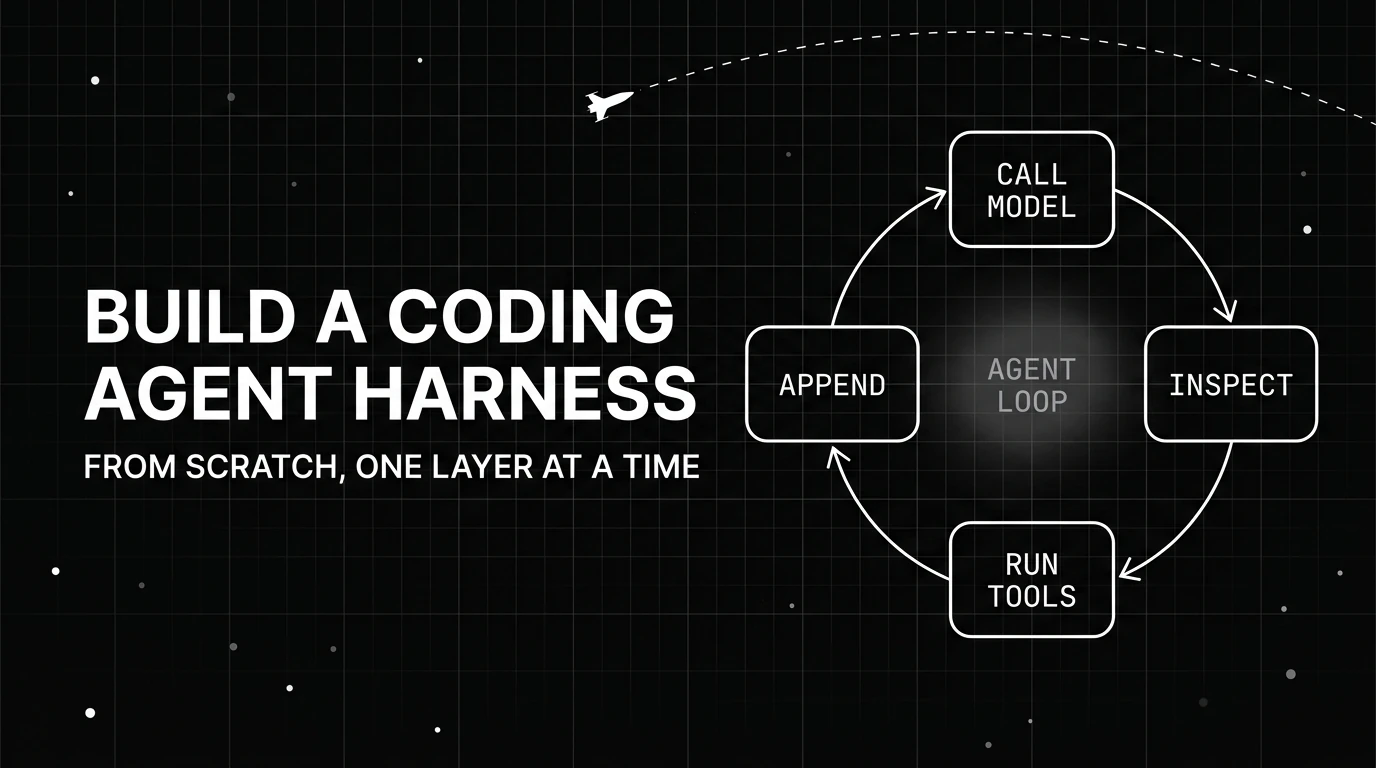
What goes into a coding agent harness: the agent loop, tool registry, stop conditions, context management, and sandboxing, explained with real build examples.

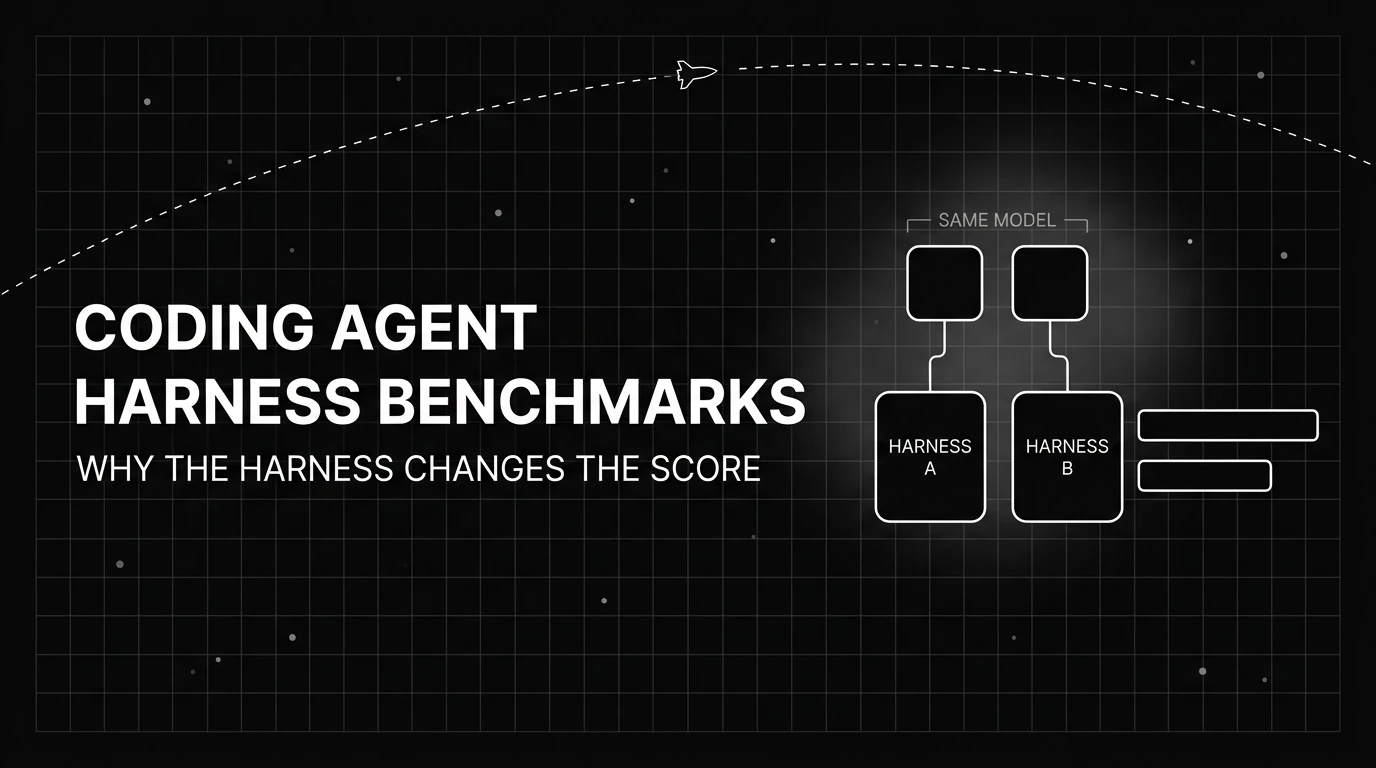
A coding agent harness benchmark score measures the model and its scaffold together. See how much the harness moves SWE-bench Pro results and how to read them.
An agent harness fails in production in four places: tool permissions, state, the control loop, and verification. Here is how to test yours before you ship.