lm-evaluation-harness: A Practical Guide to EleutherAI's LLM Eval Tool
Install, run, and understand EleutherAI's lm-evaluation-harness: the CLI flags, the backends it supports, task structure, and the first-run pitfalls to avoid.
Table of Contents
Most published LLM benchmark numbers come out of one tool. This is the eval tool behind the Open LLM Leaderboard: how to install it, run a task, and switch backends without guesswork.
You find a model near the top of a public leaderboard and want to check the claim on your own hardware, or run the same test on a model you just fine-tuned. The question is which tool produced those numbers, and how to run it so your result lines up. For a large share of published LLM scores, the answer is EleutherAI’s lm-evaluation-harness.
This guide walks through the tool end to end: how to install it the right way, run a first evaluation, pick a backend, and read how tasks are put together. Every command here is the current syntax from the project’s own documentation, so you can copy it and expect it to work.
If you want the concept first, the companion piece on what an eval harness is explains why the software around a benchmark decides the score. This post is the hands-on version: one tool, from clone to result.
The Direct Answer: What lm-evaluation-harness Is
lm-evaluation-harness is EleutherAI’s open framework for evaluating language models across hundreds of benchmarks from one command line. It is MIT licensed and, as of mid 2026, sits near 13,000 stars on GitHub. It standardizes how models are prompted and scored, so a local run can line up with published numbers.
Two things make it the default. First, it covers a very wide task library, from HellaSwag and MMLU to hundreds of others, all callable by name. Second, it was the evaluation backend behind Hugging Face’s Open LLM Leaderboard, which Hugging Face retired in 2025. Even with that leaderboard archived, the harness it relied on is still how many public model numbers get produced today.
The tool draws a clean line: it does not train or serve models, it measures them. You bring a model, name a task, and it returns a metric with the run logged. That focus is what makes results repeatable across machines and teams, which is the entire point of using a harness instead of a one-off script.
Reproducibility here has a specific meaning. The harness ships the exact prompts and scoring for each task in the open, so two people who run the same task the same way should land on the same number.
The maintainers still discourage comparing a score across different frameworks or papers, because small formatting differences move results. That caveat is exactly why running the tool yourself beats trusting a number with no method attached.
Installing It the Right Way
Install it editable from a clone, not as a bare PyPI package. Clone the repository, move into it, and run an editable install with the backend extra you need. The editable install is what lets you point at the latest tasks and register your own without reinstalling the package each time.
git clone --depth 1 https://github.com/EleutherAI/lm-evaluation-harness
cd lm-evaluation-harness
pip install -e ".[hf]"
The --depth 1 flag grabs only the latest commit, which keeps the download small. The -e flag installs in editable mode, so the cloned folder stays the live source. The [hf] in brackets is a dependency extra: it pulls the Hugging Face Transformers backend. Swap it for [vllm] to install the vLLM backend or [api] for hosted-model access, and you can combine them, as in ".[hf,vllm]".
A bare pip install lm_eval from PyPI does exist, but the project leads with the clone-and-editable path for a reason. New tasks and fixes land in the repository first, and the editable install keeps you current with them. Skipping the bracket extra is the other frequent slip: without it, the backend you try to call simply will not be installed.
One habit worth keeping is a fresh virtual environment before the install, made with python -m venv or a conda environment, on a recent Python. The harness pulls in heavy dependencies like PyTorch and Transformers, and an isolated environment stops those from colliding with other projects on the same machine.
To confirm the install took, run lm-eval ls tasks and check that a long list of task names prints. If the command is found and the list appears, the package and its entry points are registered correctly.
Running Your First Evaluation
The run command is lm_eval, with an underscore. Point it at a model, name one or more tasks, set a device and batch size, and it handles the rest. Start small with a limit so you can confirm the wiring before committing to a full benchmark that may run for hours.
lm_eval --model hf \
  --model_args pretrained=EleutherAI/gpt-j-6B \
  --tasks hellaswag \
  --device cuda:0 \
  --batch_size 8
Read it left to right. --model hf picks the Hugging Face backend. --model_args pretrained=EleutherAI/gpt-j-6B names the weights to load. --tasks hellaswag selects the benchmark. --device cuda:0 puts it on the first GPU, and --batch_size 8 sets how many examples run at once. Table 1 lists the flags you will reach for most, drawn from the project’s command-line interface docs.
| Flag | What it does |
|---|---|
--model | Backend or provider type, such as hf, vllm, or openai-completions (default hf) |
--model_args | Model path and load options as key=value pairs, such as pretrained=EleutherAI/gpt-j-6B |
--tasks | Comma or space separated task names or groups |
--device | Compute device, such as cuda:0, cpu, or mps |
--batch_size | Examples per batch, an integer or auto |
--limit | Cap on examples per task, useful for quick smoke tests |
--output_path | Directory or file where results are written |
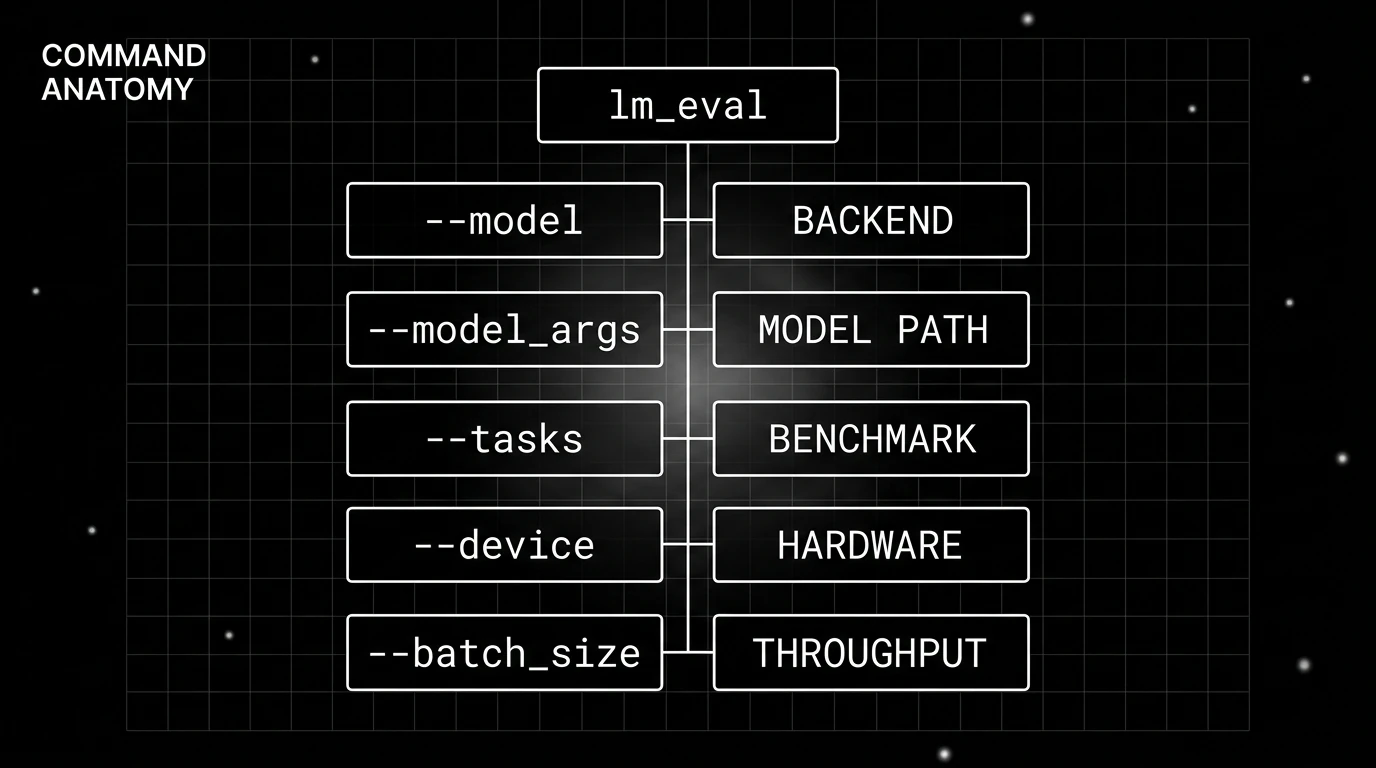
Before a full run, smoke-test with --limit 10 to score just ten examples and check the output path and formatting. To see what you can pass to --tasks, list the registered names first:
lm-eval ls tasksNote the two entry points. Running an evaluation uses lm_eval with an underscore, while listing tasks uses lm-eval with a hyphen. Both names are registered by the package, so both resolve, but the task-listing subcommand is written with the hyphen in the docs. Copy task names straight from that list into the flag, since a typo is the most common reason a run fails to start.
When a run finishes, the harness prints a results table to the terminal and, if you passed --output_path, writes the same numbers to a JSON file. For a multiple-choice task like HellaSwag, that table shows accuracy as acc alongside a length-normalized version, acc_norm, each with a standard error so you can judge how noisy the estimate is.
One flag worth knowing early is --num_fewshot. It sets how many solved examples the harness places in the prompt before the real question, and that count moves scores on its own. Many benchmarks ship with a default few-shot setting, so leave it alone when you are matching a published number, and change it only when you are deliberately testing the effect.
The Backends It Supports
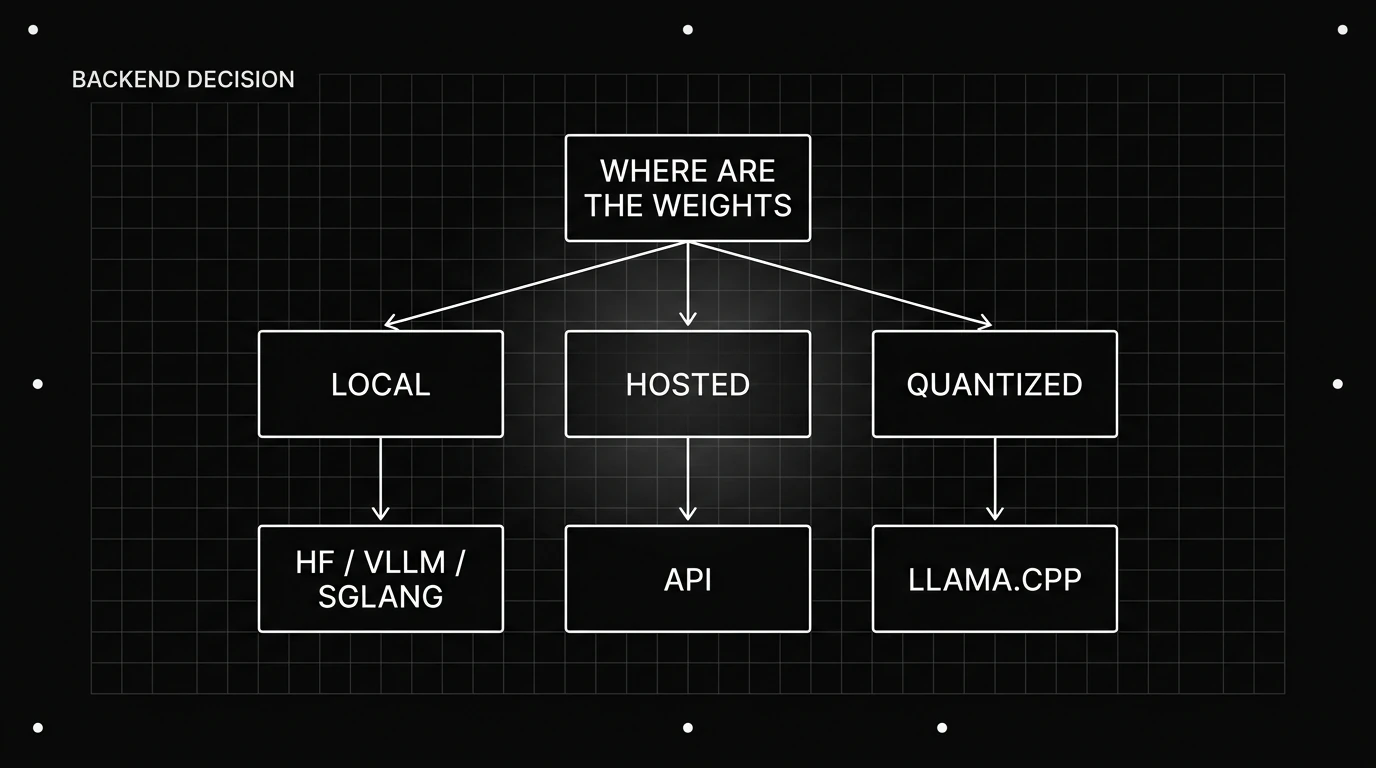
The harness talks to several inference backends, chosen with the --model flag. The split is simple: local weights, a high-throughput server, a hosted API, or quantized CPU inference. You match the backend to where your model actually runs. Table 2 maps each one to the flag value you pass.
For local Hugging Face weights, hf is the default and needs no server. When throughput matters, vllm serves the same weights far faster, and sglang adds quick structured-output decoding. To score a hosted model, the API backends like openai-completions or anthropic-chat-completions send requests to the provider instead of loading weights locally. For quantized or CPU-friendly runs, gguf drives a llama.cpp model, and nemo_lm loads NVIDIA NeMo checkpoints.
| Backend | --model value | Use when |
|---|---|---|
| Hugging Face Transformers | hf | Testing local Hugging Face weights |
| vLLM | vllm | High-throughput local serving |
| SGLang | sglang | Fast structured-output serving |
| Commercial APIs | openai-completions, anthropic-chat-completions | Evaluating a hosted model |
| NVIDIA NeMo | nemo_lm | Running NeMo checkpoints |
| llama.cpp | gguf | Quantized or CPU inference |
One thing to keep straight: the backend is set by --model, while the compute device is set by --device. They are separate choices. A quick way to decide the backend is to ask where the weights live.
Local files point to hf, vllm, or sglang. A vendor endpoint points to an API backend. A quantized file on a laptop points to gguf. Getting that match right up front saves a reinstall, since each backend lives behind its own dependency extra and pulls a different stack.
How Tasks Are Structured
Each task is a YAML config, not framework code. The file names a dataset, a prompt template, an output type, and the metrics to compute. Because tasks are declarative, adding one usually means writing a short YAML file, not editing the harness itself. That design is what lets it carry hundreds of benchmarks.
task: my_benchmark
dataset_path: my-org/my-dataset
output_type: multiple_choice
doc_to_text: "Question: {{question}}\nAnswer:"
doc_to_target: label
metric_list:
  - metric: acc
The fields do what they say. dataset_path points at a dataset on the Hugging Face Hub. doc_to_text is a Jinja2 template that turns each row into the prompt the model sees. doc_to_target marks the correct answer. output_type decides how the answer is scored, and metric_list names the metrics to report.
A task file can also set a default few-shot count and group several tasks under one name, which is how large suites like MMLU register dozens of subjects at once.
That output_type field takes one of four values, and it shapes scoring more than any other setting. generate_until has the model produce free text that a metric then checks. loglikelihood compares the probability the model assigns to a target string. loglikelihood_rolling sums token log-probabilities across a sequence, the basis for perplexity. multiple_choice ranks a fixed set of options by likelihood.
This declarative design is also what makes the tool extensible. To test a model on your own data, you write one of these files and load it without forking the project. The full field-by-field walkthrough lives in the companion guide on adding a custom task.
Common Pitfalls and How to Avoid Them
Most first-run failures come from a handful of predictable mistakes. Install from a clone with the right extra, use the exact task names, and size the batch to your memory. Get those three right and the tool mostly stays out of your way, returning a clean score on the first real run.
The install trips people first. A bare PyPI install without the bracket extra leaves the backend missing, so lead with the editable clone and name the extra you need. The next trap is task names: a mistyped or guessed name will not resolve, which is why lm-eval ls tasks exists to copy the exact string.
Then there is memory. A --batch_size set too high triggers a CUDA out-of-memory error on the model call.
The batch fix is direct. Lower the number, or pass --batch_size auto to let the harness find a size that fits your GPU. For a fast sanity check on any new task, keep --limit 10 on the command until the run completes cleanly, then drop the limit for the real measurement. Because reproducibility means recording settings, --output_path writes the full results file you will want to keep next to the number.
One subtler trap hits instruction-tuned models. Evaluating a chat model as if it were a base model, without its chat template, can depress scores because the prompt is not in the format the model was trained to expect. The --apply_chat_template flag wraps each prompt in the model’s own template, which is the setting you want whenever the weights are an instruct or chat variant.
That is the whole loop, from clone to logged score. Install editable with the backend extra, list the tasks, run lm_eval on a small limit, then scale up once the numbers land where you expect. The model you wanted to check at the start now has a score you produced yourself, with the exact settings recorded beside it.
From here, what an eval harness is covers the concept behind the tooling, and evaluating full agents instead of single models is the subject of the agent eval harness.
Frequently Asked Questions
What is lm-evaluation-harness?
How do I install lm-eval harness?
How do I run a task?
What backends does lm-evaluation-harness support?
How do I list available tasks?
Is lm-evaluation-harness free?
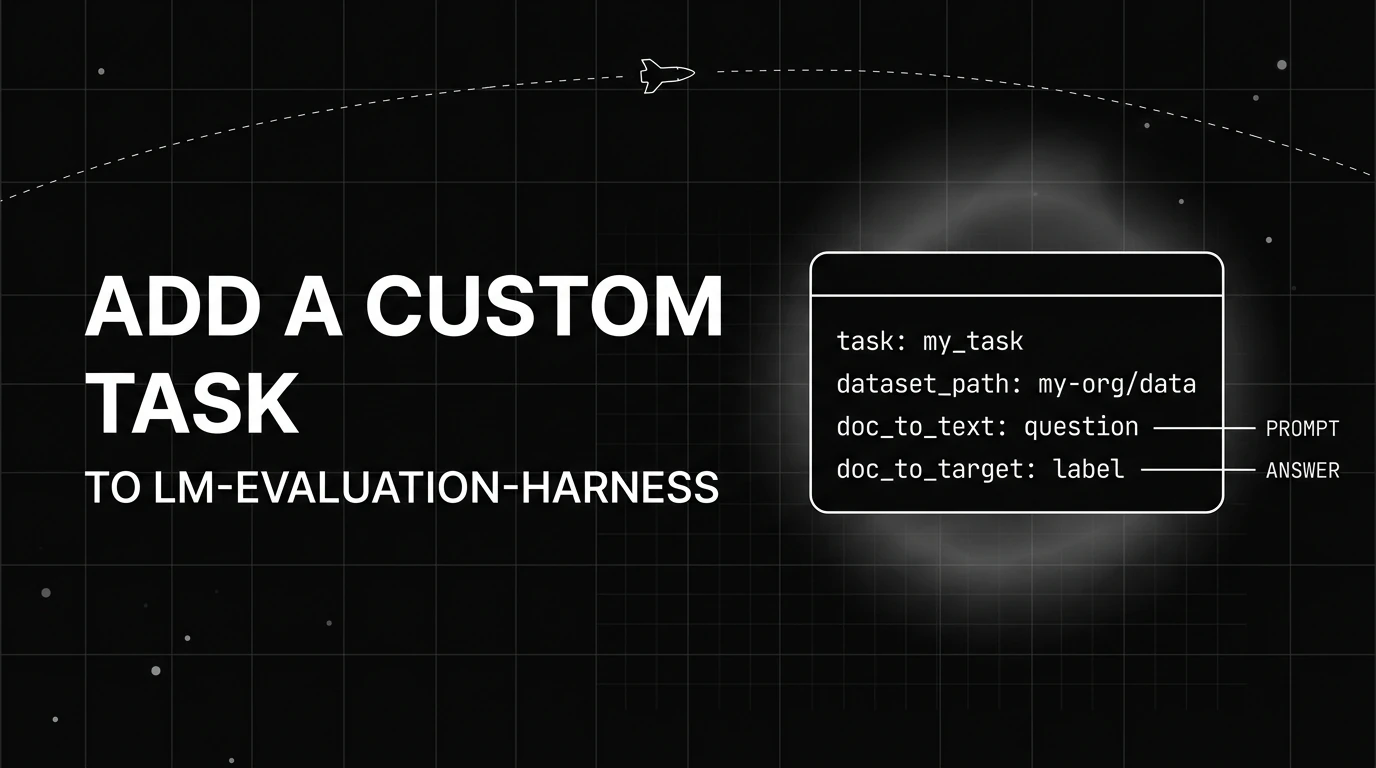
Write a custom lm-evaluation-harness task in YAML: the required fields, prompt templates, output types, metric config, and loading it without forking the repo.

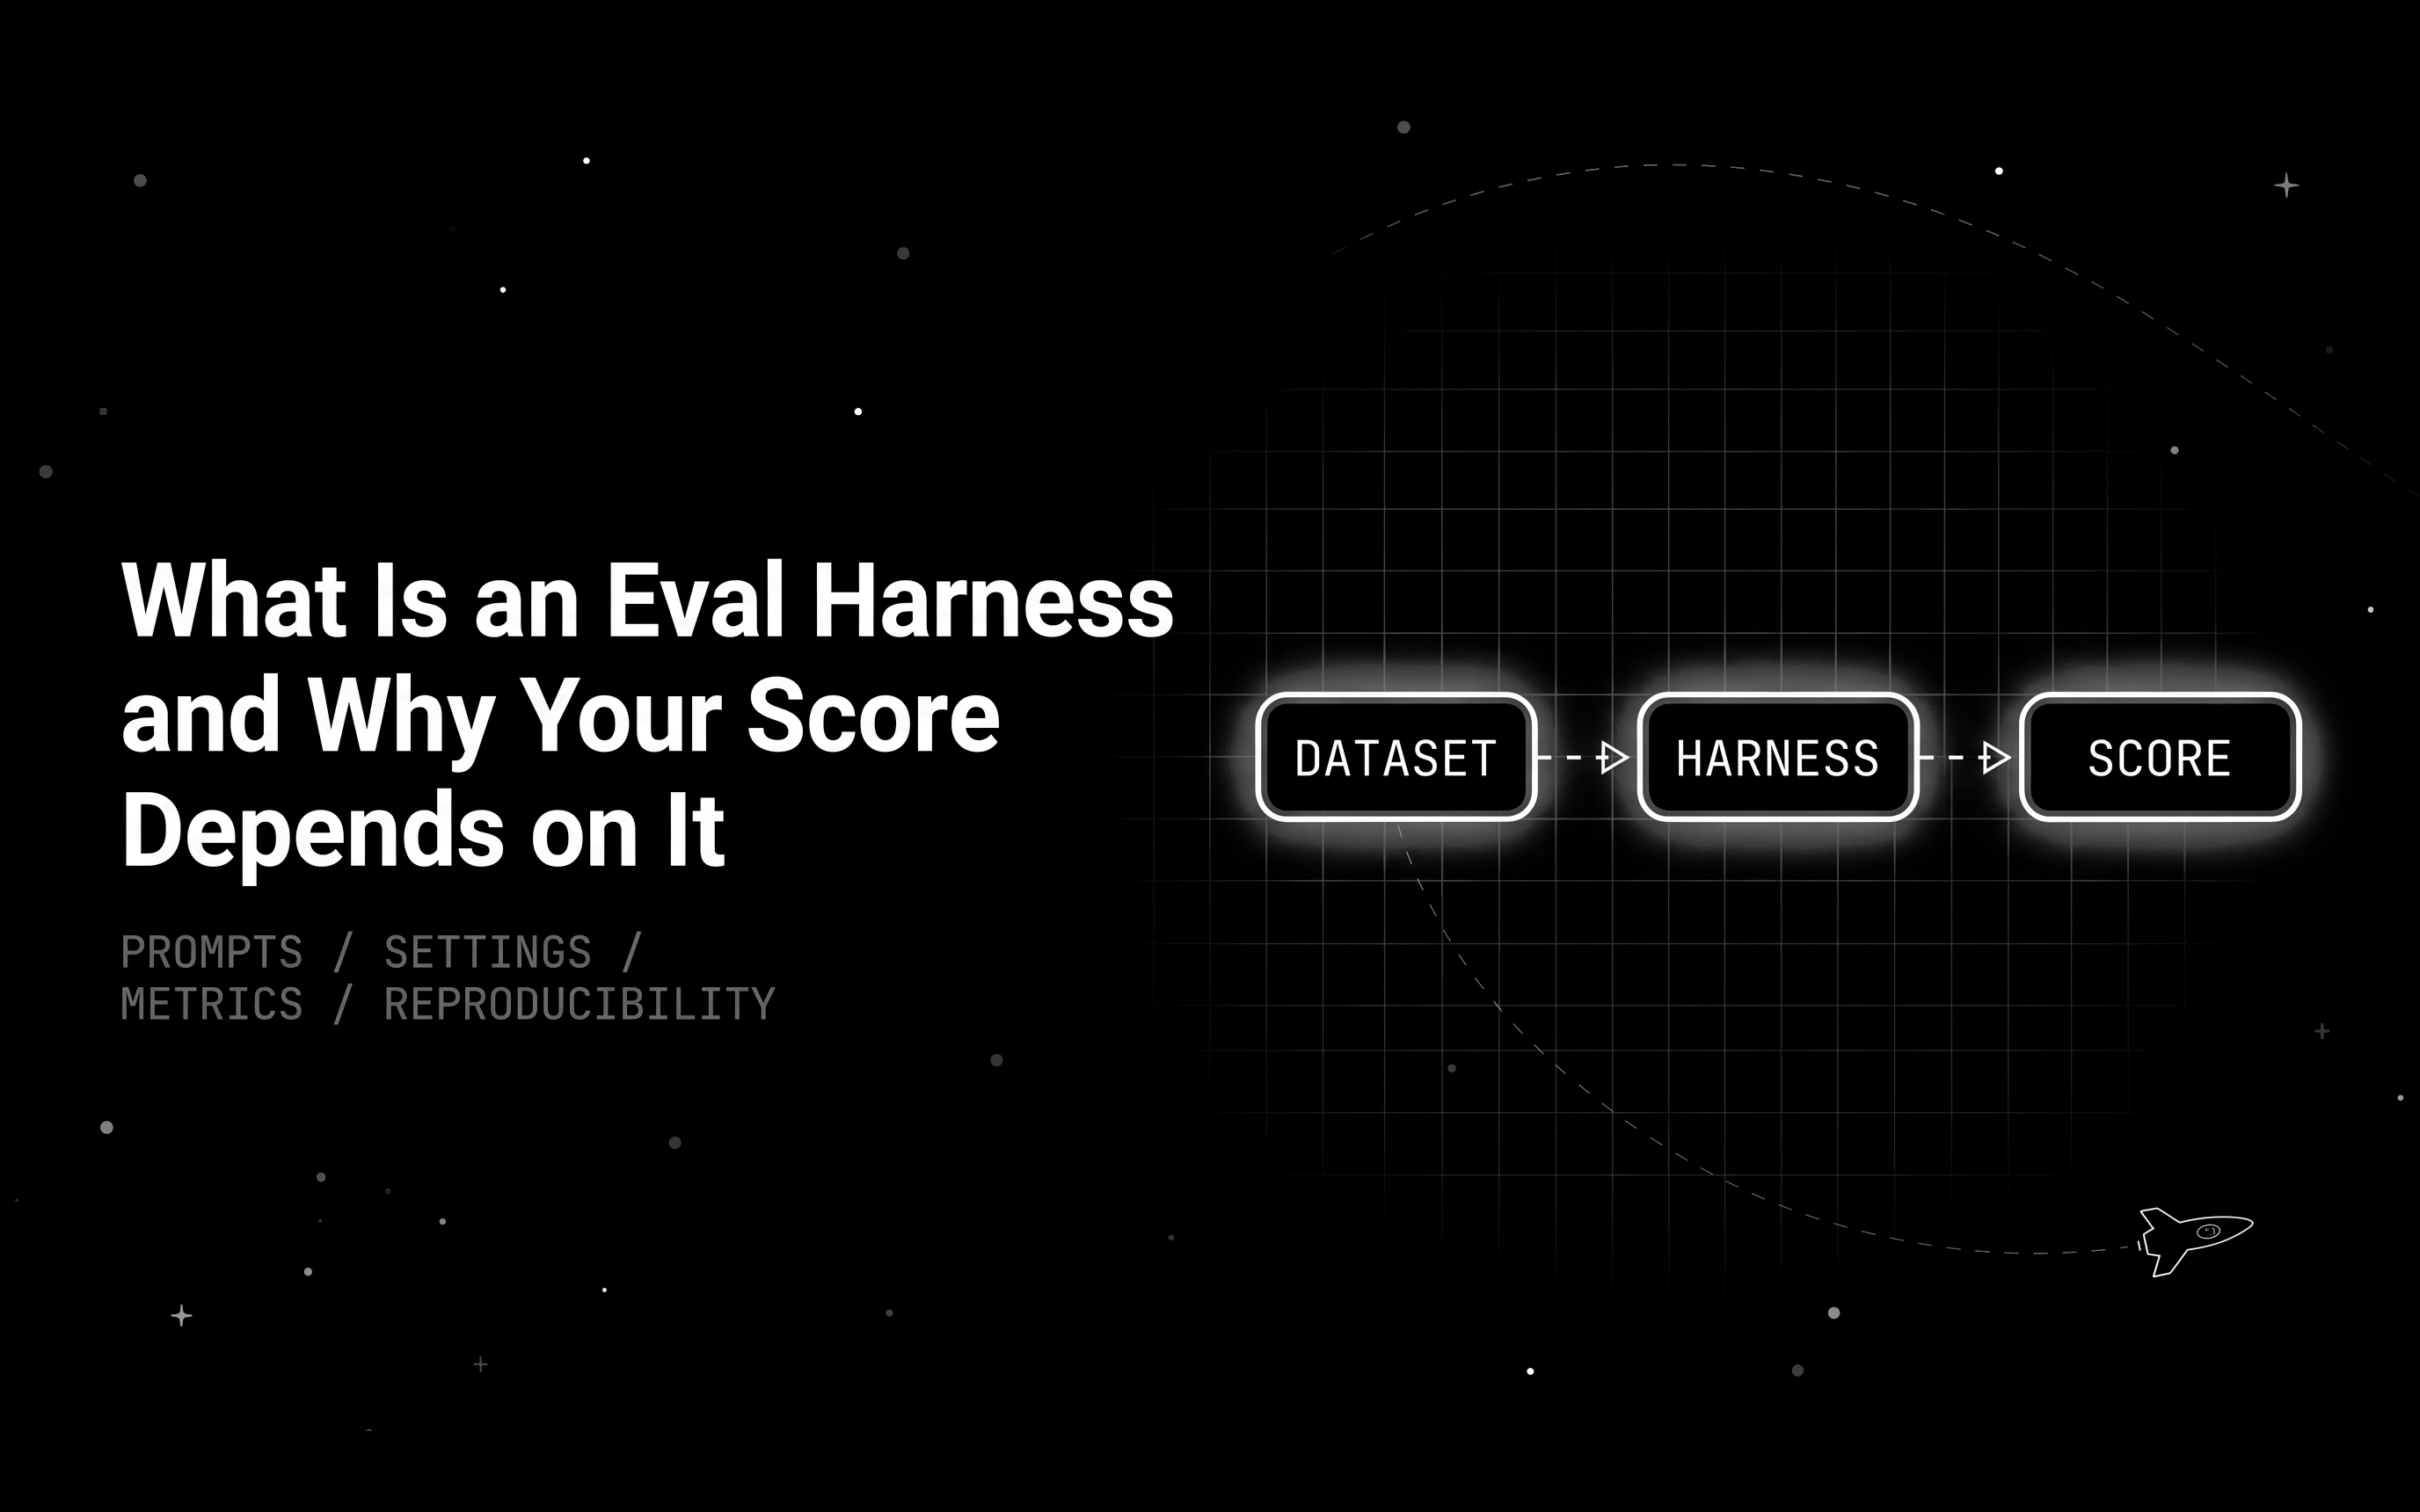
An eval harness is the software that runs a benchmark or app test the same way every time. See how it builds prompts, scores outputs, and why scores shift.

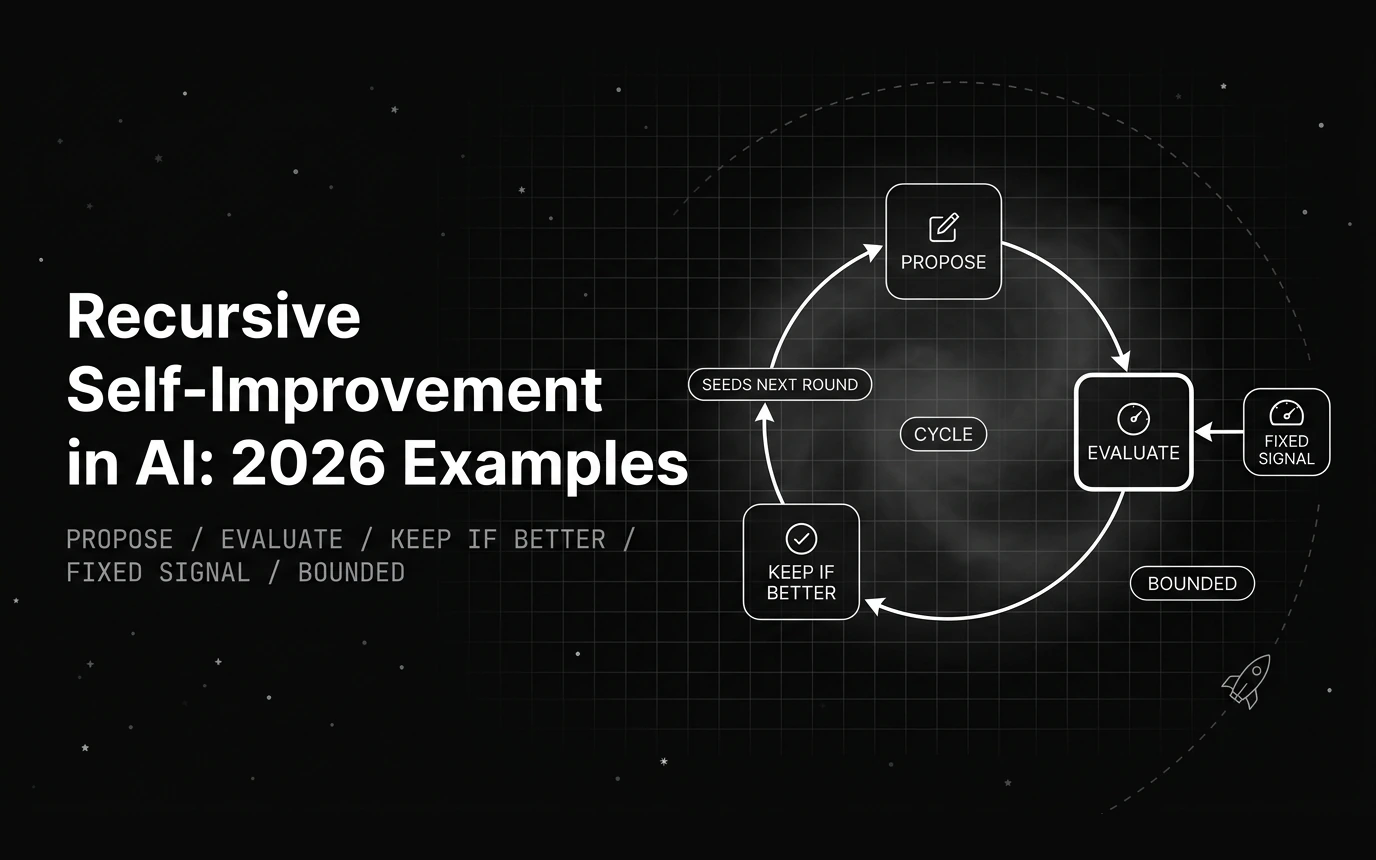
How recursive self-improvement works in AI, the verified systems running the loop right now, and the fixed evaluation signal that keeps each one bounded.