How to Add a Custom Task to lm-evaluation-harness
Write a custom lm-evaluation-harness task in YAML: the required fields, prompt templates, output types, metric config, and loading it without forking the repo.
Table of Contents
Your most important eval is often the one no public benchmark ships. lm-evaluation-harness lets you add it as a working benchmark in a handful of YAML fields, defined, scored, and loaded without touching the harness source.
You have a dataset the public benchmarks do not cover, a set of prompts specific to your domain, and you want a real score on it. The good news is you do not have to write evaluation code or fork anything. In lm-evaluation-harness, a task is a small YAML file, and adding one is mostly filling in fields you already understand.
This guide writes one custom task end to end: the minimum fields, how to build the prompt, how multiple-choice and generative tasks differ, how to configure metrics, and how to load and test the file. Because lm-evaluation-harness tasks are just YAML, every field name here is spelled the way the harness expects, so you can copy it straight into your own config.
If you have not installed or run the tool yet, the practical guide to lm-evaluation-harness covers install, backends, and a first evaluation. This post picks up where that one ends, turning your own data into a task the harness can score and reproduce.
The Direct Answer: A Task Is a YAML File
Adding a task means writing a small YAML config: a name, where the data lives, how to build the prompt from each row, and how to score the answer. You save that file, point the harness at its folder, and it registers the task at runtime. No fork of the repo is required.
lm-evaluation-harness is built so that tasks are declarative. The framework code stays untouched, and your task is data described in YAML that the harness reads and runs. That design is why the tool can carry hundreds of benchmarks, and it is why adding your own is a short file instead of a patch to the source.
That does not lock you out of code. When a task genuinely needs Python, the YAML can call a helper function with the !function syntax, so you get custom logic for prompts, targets, or preprocessing without editing or forking the framework. The task still lives in your own file, and the harness reads it in at runtime.
The mental model is simple. A task tells the harness four things: what the benchmark is called, where to load its examples, how to turn each example into a prompt, and how to judge the model’s answer. Everything else is refinement on top of those four.
Get them right and you have a running evaluation that behaves the same on any machine. If you want the concept behind the tooling first, what an eval harness is explains why the software around a benchmark decides the score.
The Minimum Fields You Need
Four fields get a task running: task names it, dataset_path points at the data, doc_to_text builds the prompt, and doc_to_target marks the correct answer. Add a split field such as test_split so the harness knows which rows to score. That is enough for a first run.
task: my_benchmark
dataset_path: my-org/my-dataset
test_split: test
output_type: generate_until
doc_to_text: "Question: {{question}}\nAnswer:"
doc_to_target: answer
metric_list:
  - metric: exact_match
task is the unique name you will pass to --tasks. dataset_path is the dataset as it appears on the Hugging Face Hub, or a local path when the data sits on disk. test_split names the split to score, and when a task has no test split the harness falls back to the validation split. doc_to_text and doc_to_target are the pair that turns a row into a prompt and its expected answer.
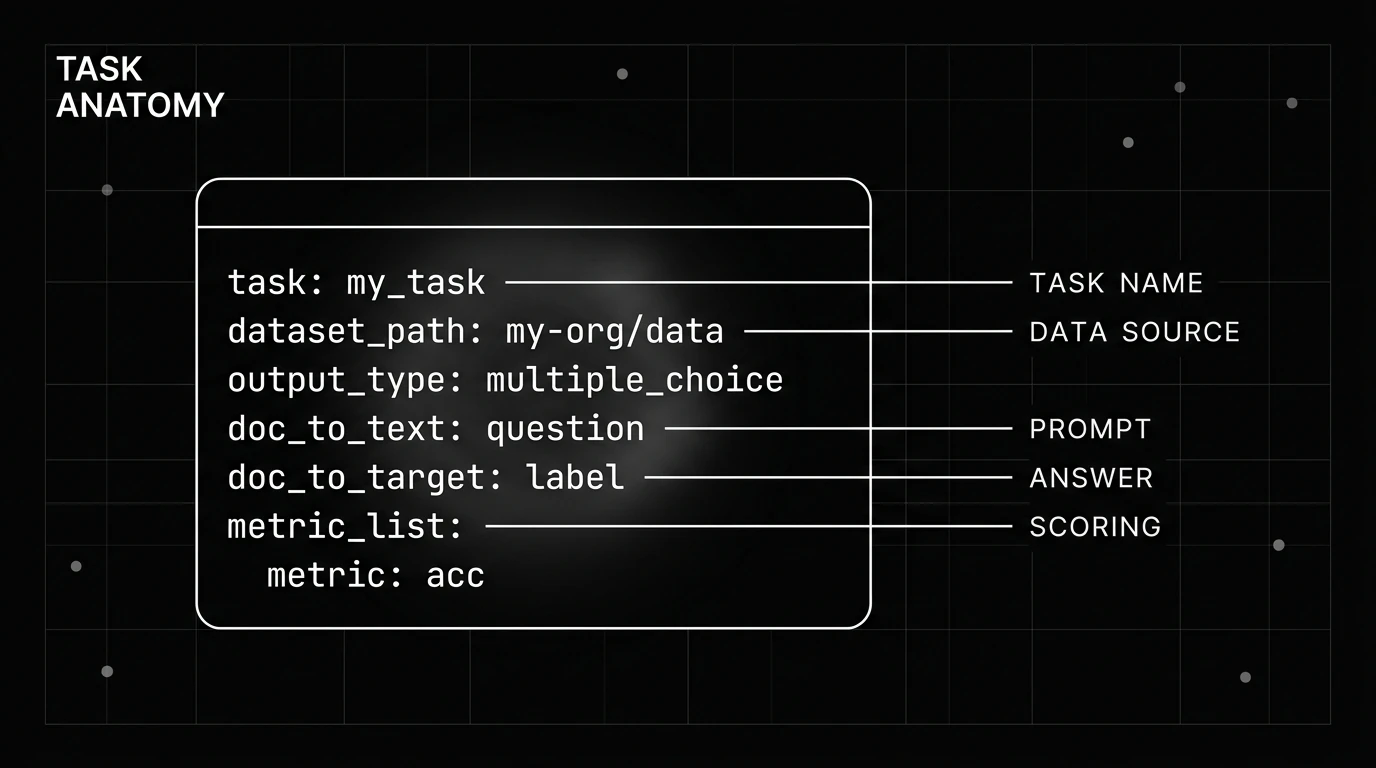
A dataset that ships under a config or subset needs one more field, dataset_name, which maps to the subset argument the Hugging Face loader expects. The dataset_path field is also flexible about where data comes from: a value like my-org/my-dataset loads from the Hub, while a loader name such as json or csv paired with a data file reads examples straight from disk.
Local files are the quickest way to try a task on data that is not published anywhere yet, so you can iterate on the prompt and scoring before deciding whether to publish the benchmark at all. Beyond those, the fields in Table 1 are the floor and the common extras. You can run the task as soon as the required rows are filled, then refine the prompt and scoring once you see the first outputs.
| Field | Purpose | Required? |
|---|---|---|
task | Unique task name | Yes |
dataset_path | Hugging Face dataset or local path | Yes |
doc_to_text | Builds the prompt from a row | Yes |
doc_to_target | The gold answer | Yes |
test_split | Which split to score | Yes (a split field) |
doc_to_choice | Answer options | For multiple choice |
metric_list | Metrics and aggregation | Recommended |
filter_list | Extract the answer from text | For generative tasks |
Writing the Prompt With doc_to_text
doc_to_text accepts three forms: a plain dataset column name, a Jinja2 template string, or a !function reference to Python. Use a column name when a field already holds the full prompt, and a Jinja2 template when you need to assemble several fields into one input.
The column-name form is the shortest. If your dataset has a startphrase column that already reads as the prompt, doc_to_text: startphrase uses it as is. Most real tasks need more shape than that, which is where Jinja2 comes in.
doc_to_text: "{{passage}}\nQuestion: {{question}}?\nAnswer:"Inside the double braces you reference columns from the row, so this template stitches a passage and a question into the exact string the model sees. When the logic is too involved for a template, the !function form points at a Python callable in a file beside the YAML, written as !function utils.build_prompt.
doc_to_target follows the same pattern but takes one of two literal forms depending on the task. For a generative task it is the gold answer as a string, often just a column name like answer. For a multiple-choice task it is an integer that indexes into the option list, so a target of label resolves to the correct choice by position.
When a whole dataset needs reshaping first, a process_docs field set to !function utils.process_docs runs your own Python over the rows, which keeps that logic out of the harness source. Table 2 lays out when to reach for each form.
| Format | When to use | Example |
|---|---|---|
| Column name | The prompt is already a field | question |
| Jinja2 template | Combine several fields | {{question}}\nAnswer: |
!function | Complex Python logic | !function utils.build_prompt |
Multiple-Choice vs Generative Tasks
One field decides how the harness scores an answer. For multiple choice, add doc_to_choice to list the options and set output_type: multiple_choice so the harness ranks them by likelihood. For open-ended answers, use generate_until, which lets the model produce free text that a metric then checks.
A multiple-choice task gives the model a fixed set of options and asks which is most likely. You supply the options with doc_to_choice, set output_type: multiple_choice, and point doc_to_target at the index of the correct option. The options in doc_to_choice can be a fixed list or, like doc_to_text, a template that builds them from each row when every example carries its own answer set.
The harness scores each choice by likelihood, picks the highest, then compares it to the target. No text is generated, which makes these tasks fast and their results stable across runs.
A generative task is the opposite. With output_type: generate_until, the model writes an answer as text, and a metric compares that text to the gold answer. This is the setting for math word problems, short factual answers, and anything where the response is not a menu.
The tradeoff is that you now have to pull the answer out of whatever the model wrote, which is exactly what metrics and filters handle next. When you leave output_type unset, it defaults to generate_until, so a generative task needs the least configuration.
Either kind of task can carry a default few-shot count. Set num_fewshot in the config to prepend that many solved examples before each question, and the harness draws them from the fewshot_split or the training split. Leaving it at the default of zero runs the task zero-shot, which is the right starting point while you are still checking that the prompt renders.
Configuring Metrics
Scoring is declared under metric_list, where each entry names a metric, an aggregation, and whether higher_is_better. For generative tasks, add a filter_list that pulls the answer out of free text with a regex before scoring, so a wordy response still maps to a clean prediction.
A metric entry can be a single line when you use a metric the harness already knows, since aggregation and higher_is_better fall back to sensible defaults for built-in metrics. Spell them out when you want explicit control, or when the metric is a custom function you wrote yourself.
metric_list:
  - metric: exact_match
    aggregation: mean
    higher_is_better: true
filter_list:
  - name: extract-answer
    filter:
      - function: regex
        regex_pattern: "The answer is (.*)"
      - function: take_first
The filter_list matters most for generative tasks. A model asked for a math answer might reply with a full sentence, so a regex filter captures the part you want and take_first keeps the first match. The filtered string is what the metric scores, which stops exact_match from failing just because the model wrapped a few words around the answer.
Chain filters in the order they should run, and give each pipeline a name so the results table labels it clearly.
Two details on the metric entry save time later. The aggregation key sets how per-example scores combine, with mean the usual choice, and higher_is_better tells the results table which direction counts as good. Any extra key on the entry passes through as an argument to the metric itself, so adding ignore_case: true to exact_match loosens the match without writing a line of Python.
Loading and Testing Without Forking
Point the harness at your file with --include_path, then run on a small --limit with --write_out so you can read the rendered prompts before a full run. Keep the YAML in your own folder; the harness discovers and registers it at runtime, so the repo source stays untouched.
--include_path takes the directory that holds your task YAML. The harness adds that folder to the tasks it knows about, so --tasks my_benchmark resolves to your file. You can keep several task files in that folder and the harness registers all of them at once. Because the task lives in your own directory and not inside the installed lm_eval/tasks, you never fork or edit the package.
lm_eval --model hf \
  --model_args pretrained=EleutherAI/gpt-j-6B \
  --tasks my_benchmark \
  --include_path ./my_tasks \
  --limit 10 \
  --write_out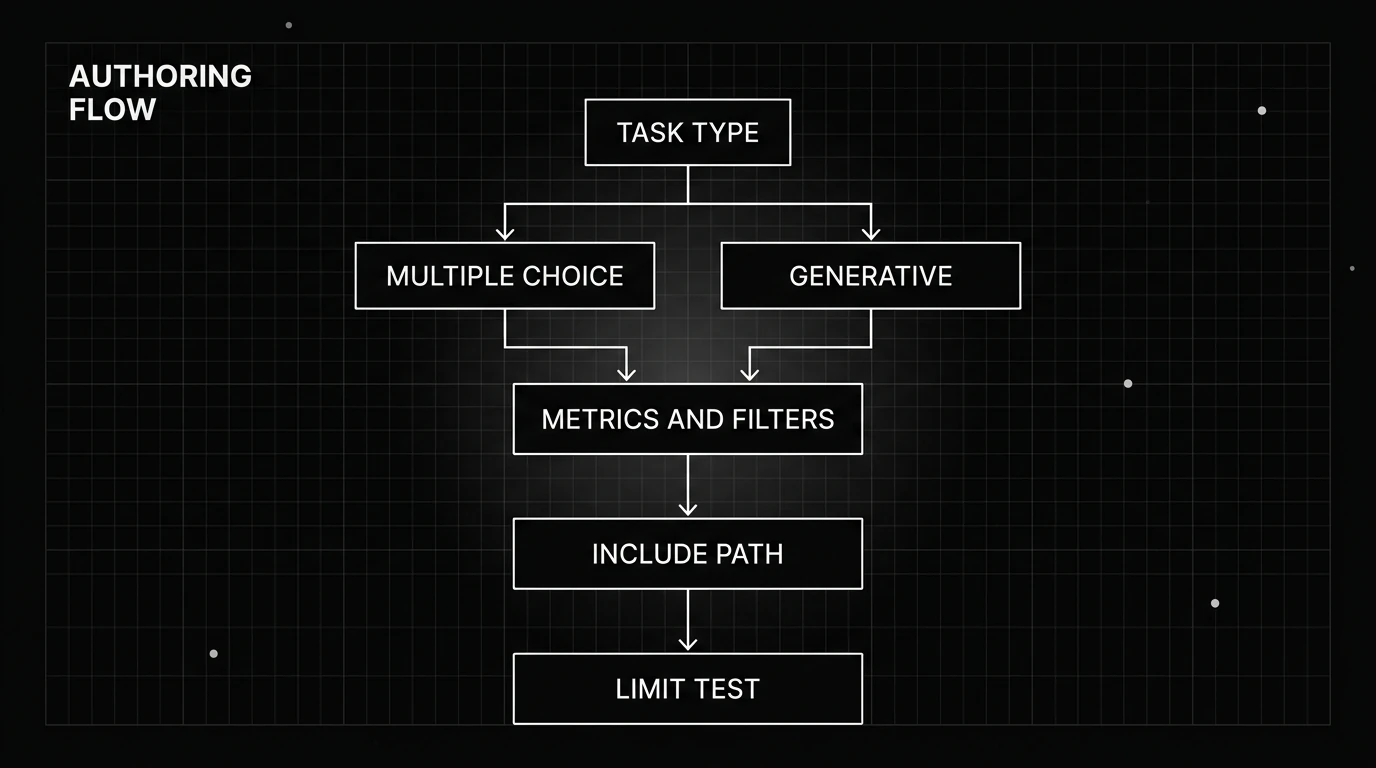
The two testing flags earn their place early. --limit 10 scores just ten examples, so a mistake surfaces in seconds instead of hours. --write_out prints the prompts for the first few documents, which is the fastest way to confirm your doc_to_text template renders the way you expected. To save the model’s actual inputs and outputs for a closer look, add --log_samples, which writes them for post-hoc analysis.
The most common first failure is a split-name mismatch. If test_split names a split the dataset does not have, the task errors before it scores anything. The fix is to match the split fields to the dataset’s real names: open the dataset card on the Hub and set test_split, and validation_split or training_split if you use them, to whatever the data actually calls its splits.
That is the whole authoring loop. Define the fields, write the prompt, choose multiple choice or generative, declare the metrics, then load with --include_path and smoke-test on a small limit. The dataset you started with now runs as a named task, scored the same way every time and loadable on any machine without a fork.
The new task guide documents every field in full, the practical guide to lm-evaluation-harness covers the wider tool, and evaluating full agents instead of single models is the subject of the agent eval harness.
Frequently Asked Questions
How do I add a custom task to lm-evaluation-harness?
Do I need to fork the repo to add a task?
What fields does a task YAML require?
How do I make a multiple-choice task?
How do I test my custom task quickly?
Why does my custom task error on splits?
Install, run, and understand EleutherAI's lm-evaluation-harness: the CLI flags, the backends it supports, task structure, and the first-run pitfalls to avoid.

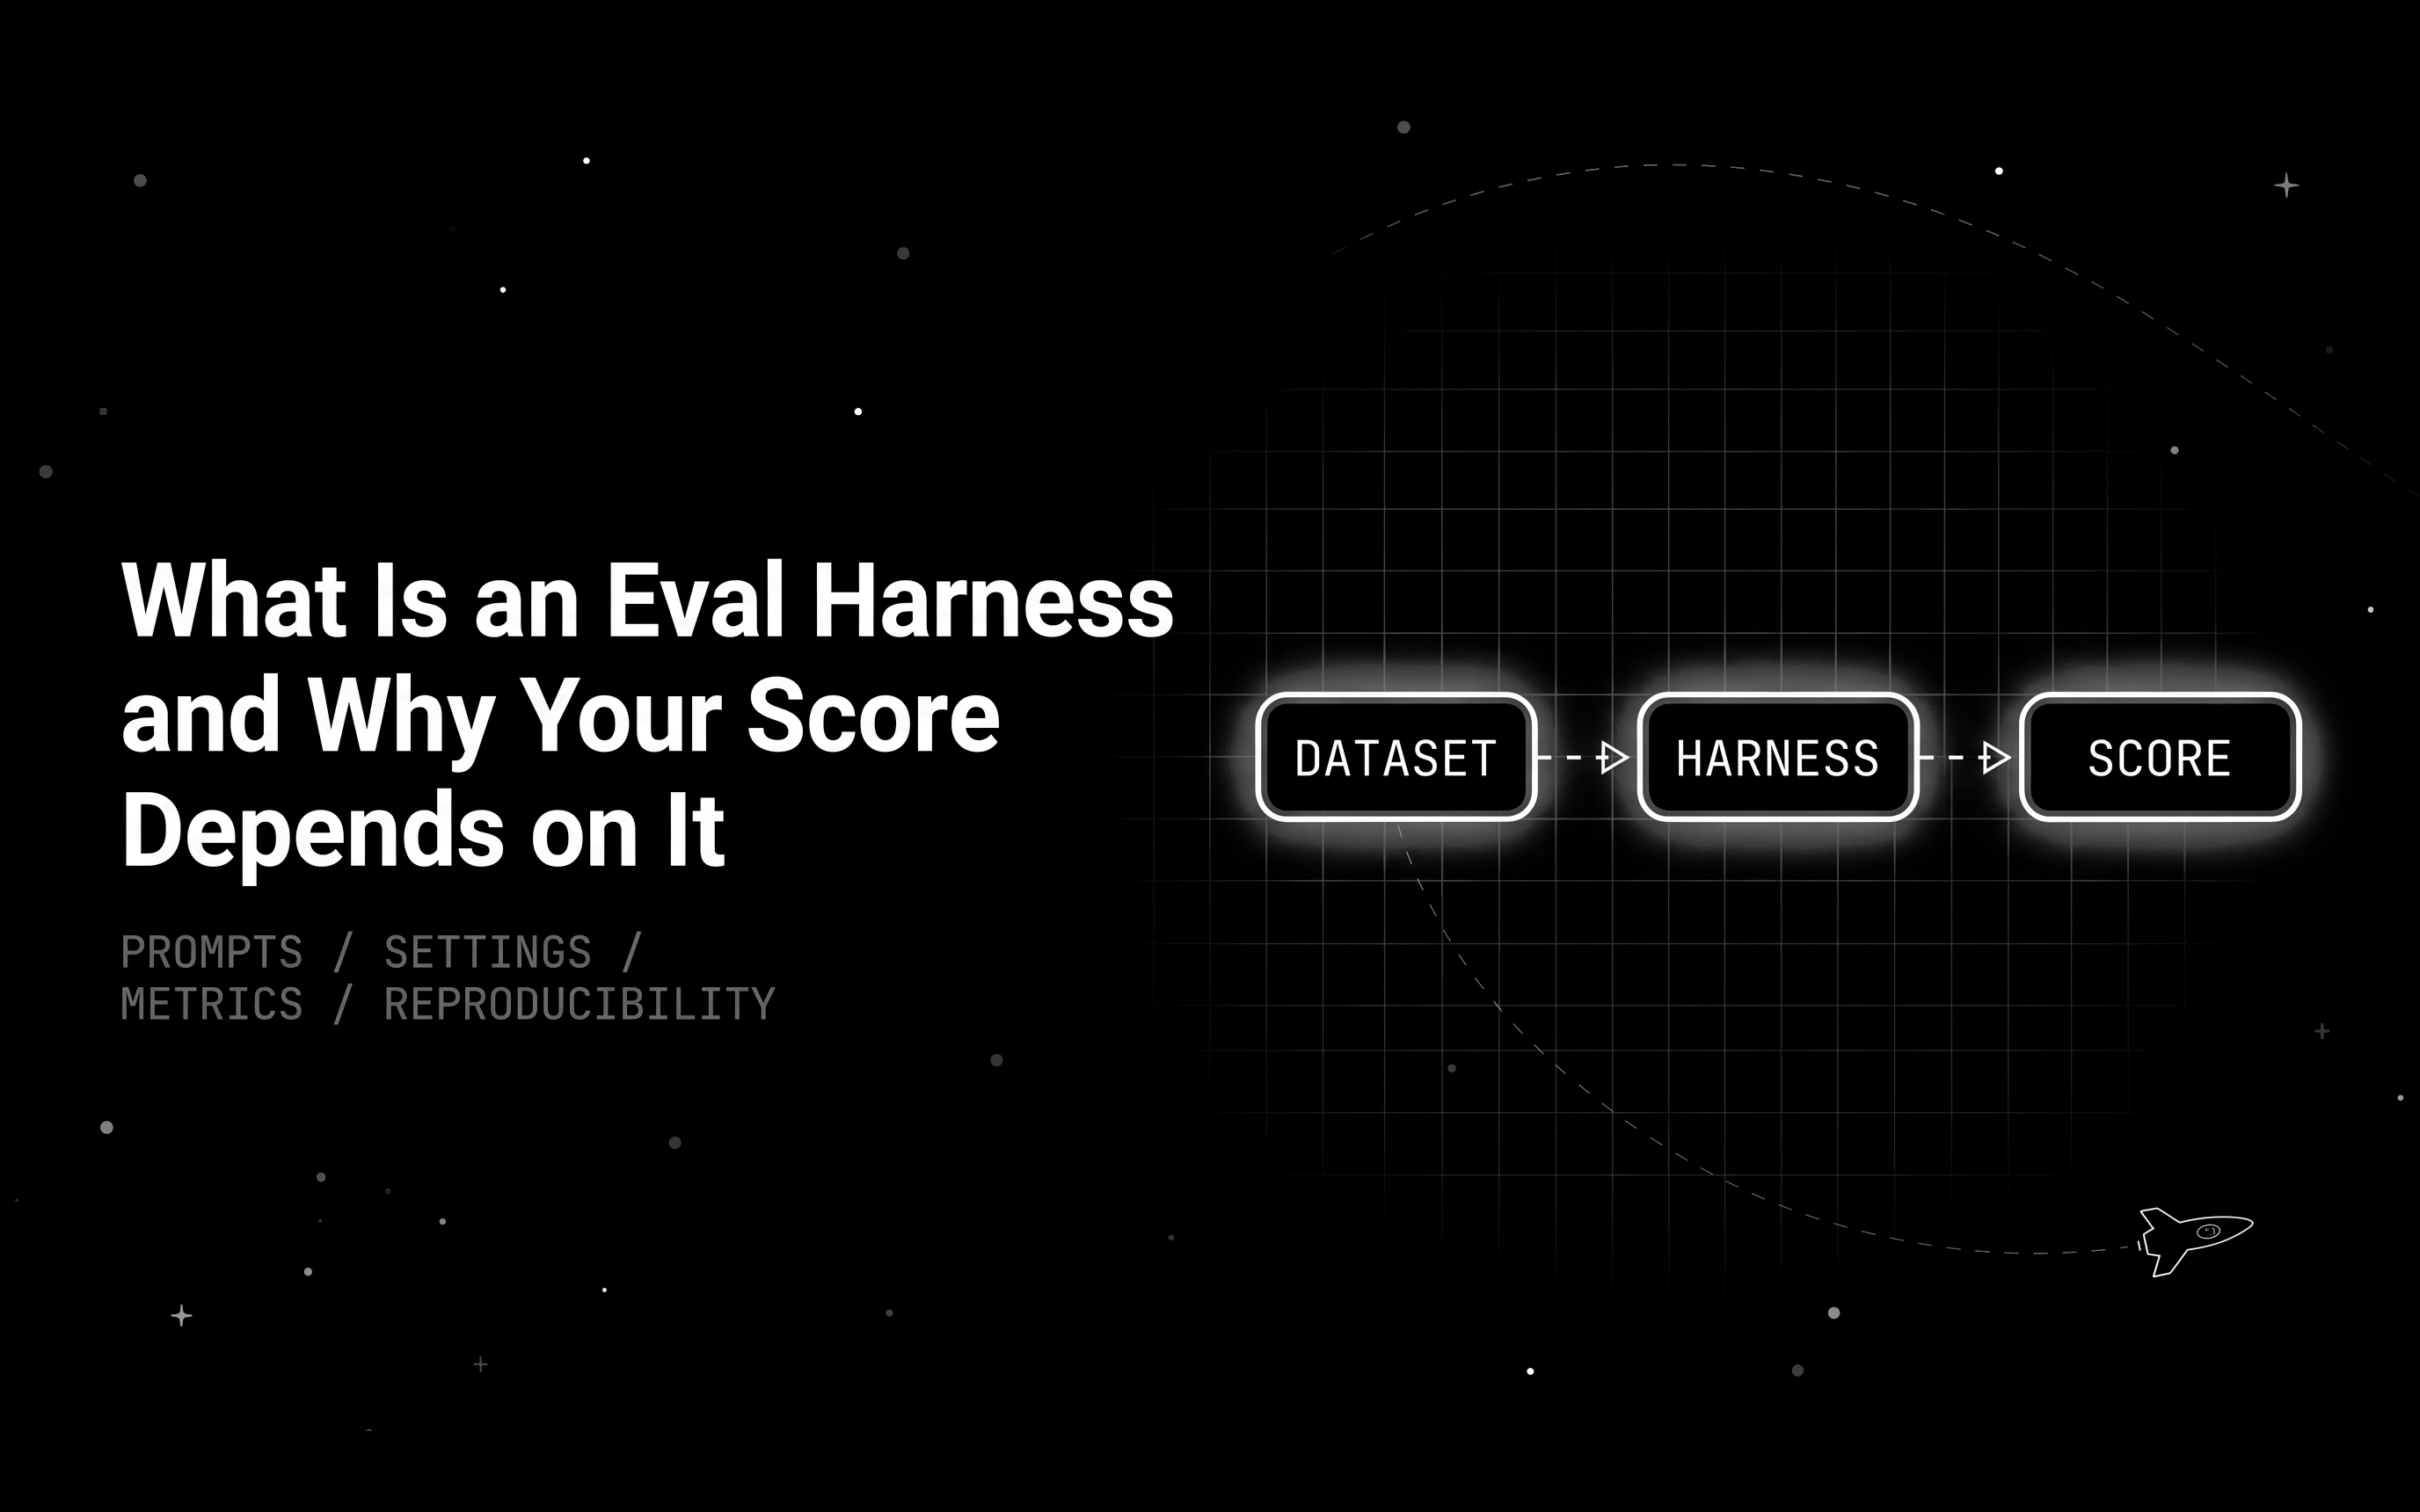
An eval harness is the software that runs a benchmark or app test the same way every time. See how it builds prompts, scores outputs, and why scores shift.

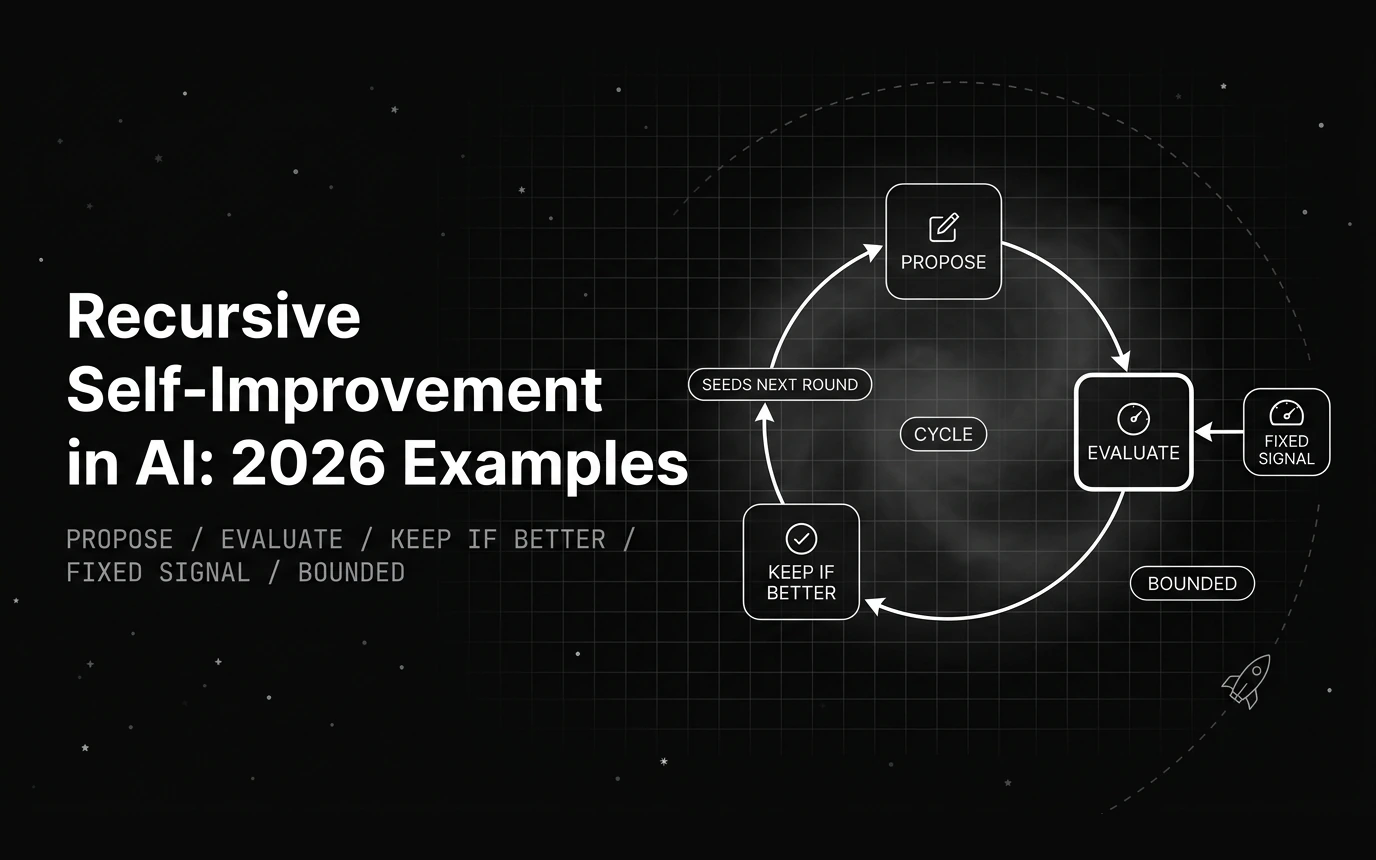
How recursive self-improvement works in AI, the verified systems running the loop right now, and the fixed evaluation signal that keeps each one bounded.